
This wreath makes me smile every time I open my door.
I have been wanting one of these wreaths for so long, but the price tag was always a little a lot, too much. So I saw this pin on Pinterest and decided to give it a go!
Mine was a little more than $15 because it is a little bigger and thicker on the green.
Heres a step by step of what I bought and how I did it!
Supplies
1 twig wreath
2 classic greenery garlands
ribbon
green wire
wire cutters

I bought most of my supplies at Michaels with coupons which cut down the cost a lot! I have the Michaels app which makes it so easy to pull up those grand coupons. If you don't have it, I would get it! Michaels was out of twig wreaths the day I stopped by so I hit up Wal-Mart and found this size for under $5.
The process is so fast and simple, which makes me love this more!
Start by cutting your garland into small sections. They are kind of distinguished in bunches on the garland so just cut off little sections of it at a time.

Tuck them into place on the wreath. Most of the time I could just stick it in the branches and it would hold well enough, but on the outer edges, I used just a little green wire to hold it better.
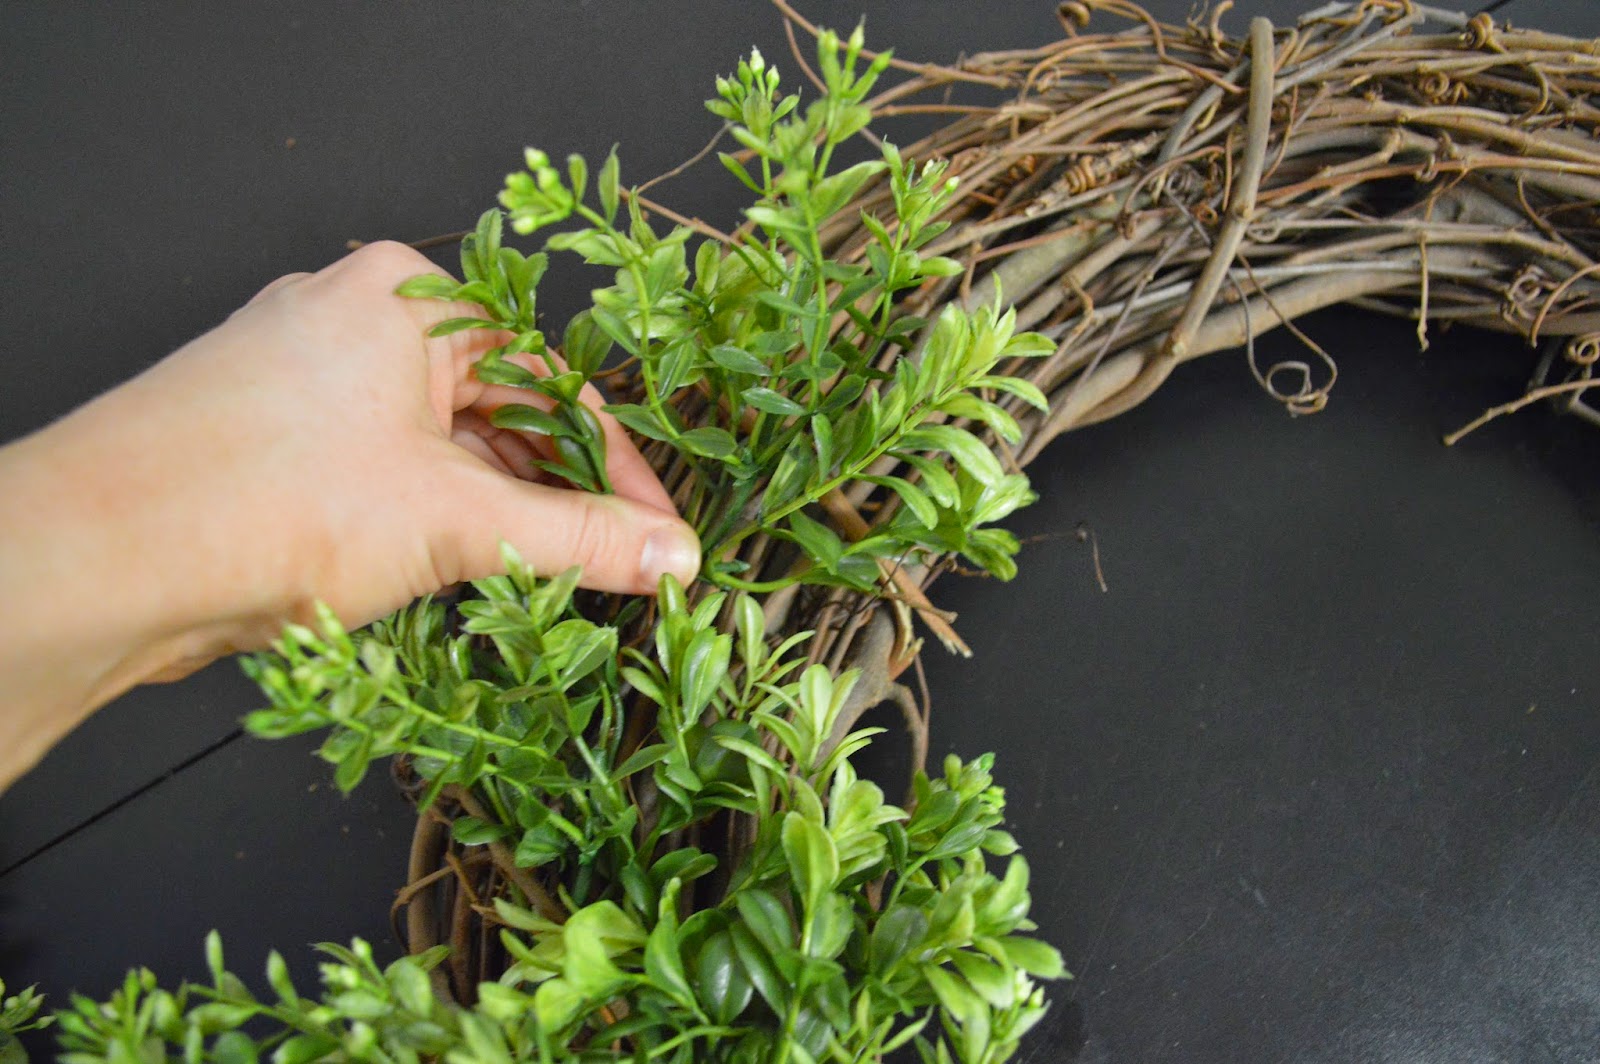

See the wire down there? The green helps it stay pretty hidden, and then just move the greenery around it to hide it a little more.
Do this same process all around the wreath. You can decide how much or how little greenery you use. Its all personal preference. I like it really full so I used 2 of the greenery garland. I thought I would only use one but that only got me halfway around! It ended up working out though because I used another 50% off coupon the next day to buy another one.

Once you've made it all the way around with the greenery, tie your bow. I secured it on the wreath with the green wire.


And thats it! Then you will have the happiest, Spring Wreath on your door!!
No comments:
Post a Comment